

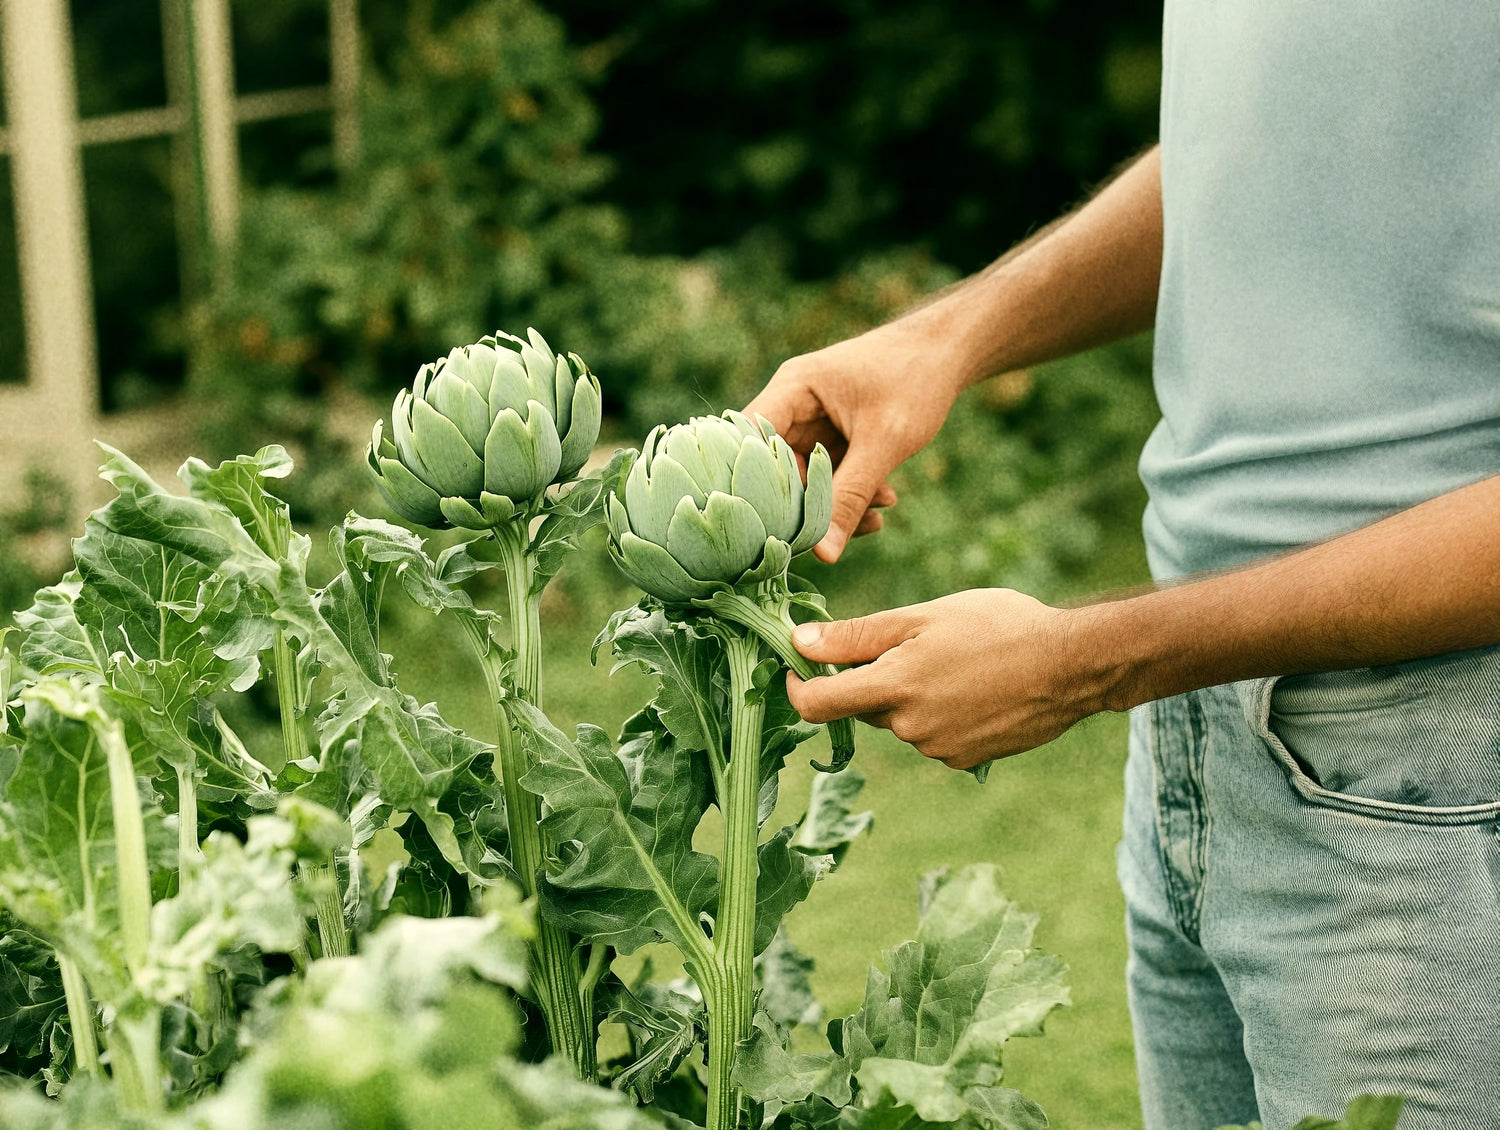
From Buying Seeds to Planting Outdoors
Starting your own plants from seed is cost-effective, ecological, and a deeply personal process. From choosing heirloom or organic varieties to nurturing tiny sprouts, every aspect can be tailored to your preferences—and it’s immensely gratifying to watch your indoor seedlings flourish before they move to the great outdoors.
5 Great Reasons to Sow Your Seeds Indoors
1. Kickstart Your Growing Season
By planting seeds several weeks before the last frost date, you ensure a head start that translates into earlier harvests and better yields. This advantage is vital for warm-season vegetables like tomatoes, peppers, chilies, eggplants, and cucumbers in cooler, northern regions. Indoors, your young plants stay safe from harsh spring weather, developing strong roots and stems before they face outdoor conditions.
2. Create an Ideal Growing Environment
Many seeds germinate optimally at 20–24°C, easy to maintain indoors via ambient heat or a seedling heat mat. Properly positioning LED grow lights prevents leggy growth; a small fan boosts airflow, fending off fungal issues. By fine-tuning temperature, light, and moisture levels for each crop, you’ll produce sturdier, more robust plants.
3. Explore a Wider Range of Varieties—and Make It Your Own
Indoor seed starting lets you pick from countless heirloom, organic, or unusual cultivars unavailable at typical garden centers. Many heirloom or organic strains also tend to require fewer pesticides or herbicides than some modern hybrids, offering more genetically robust traits. Perhaps you’ll grow a chocolate-colored tomato or a purple-leaved basil—whatever sparks your interest and suits your climate. Each season, you’ll refine your preferences, discovering which varieties truly thrive under your care.
4. Save Money and Waste Less
Raising seedlings from scratch costs less than buying established transplants. A single packet of seeds can yield dozens of plants—often more than enough for your own garden and to share. Buying transplants from large greenhouse operations can also involve a higher carbon footprint, due to energy-intensive facilities and transport. By choosing seeds, you not only reduce costs but also lessen environmental impact while wasting fewer resources on seedlings that fail to thrive. Simple measures like correct timing and careful watering can greatly reduce losses.
5. Enjoy Gardening Through Grey Winter Days
When outdoor conditions are bleak, it’s uplifting to watch seedlings emerge indoors. Tending delicate sprouts connects you to nature’s rhythms, sparks your creativity, and adds a splash of greenery to counter the winter doldrums.
Which Seeds to Sow Indoors (and Which to Sow Directly)
Indoor Sowing Recommendations
- Tomatoes, Peppers, Eggplants: Need a long head start in cooler climates.
- Cucumbers, Melons, Squash: Sensitive roots benefit from an indoor start—handle carefully during transplant.
- Brassicas (Broccoli, Cabbage, Cauliflower): Appreciate stable indoor conditions before moving outdoors.
- Herbs (Basil, Parsley, Oregano): Slow to germinate, so seeding indoors yields more reliable growth.
Direct Sowing Recommendations
- Root Crops (Carrots, Radishes, Beets): Prefer minimal disturbance—best sown directly in the garden.
- Legumes (Peas, Beans): Germinate quickly once soil warms, typically around 10°C.
- Greens (Spinach, Lettuce, Arugula): Cool-soil friendly, making direct sowing simple and efficient.
What You Need to Get Started
1. Quality Seeds
- Heirloom & Organic: Open-pollinated, chemical-free seeds often offer robust genetics and distinctive traits, and frequently require fewer synthetic inputs.
- Fresh & Viable: Check packet dates and store seeds in a cool, dry spot to maintain high germination.
- Timing: Follow seed packet recommendations—usually 6–8 weeks before your last frost date.
2. Peat-Free Growing Medium
- Sustainable Base: Use coir-based or compost-based mixes combined with perlite or vermiculite for proper aeration and moisture retention.
- Light Fertility: Add small amounts of compost or organic fertilizer for seedlings like tomatoes or peppers if they’ll remain indoors longer.
- Tip: Overly rich media can burn tender roots; moderate fertility is ideal for young seedlings.
3. Containers
- Seed Trays or Pots: Plastic cells, biodegradable cups, or thoroughly cleaned reusable containers all work—just ensure good drainage. Trays offer maximum efficiency and convenience.
- Trays or Saucers: Place containers in a shallow tray for bottom watering, which provides even hydration from below and reduces splashes on leaves or stems.
- Tip: Cleanliness matters. Wash and disinfect containers beforehand to prevent fungal or bacterial issues—these thrive in the same warm, moist conditions seeds love.
4. LED Grow Lights (and Optional Timer)
- Full Spectrum & Low Heat: LED fixtures cover the necessary light range for seedlings without overheating them.
- Close Proximity: Position lights roughly 5–7 cm above plant tops, running 12–16 hours daily.
- Timer: Automating your light schedule keeps seedlings on a consistent day–night cycle without constant manual adjustments.
5. Temperature Tools
- Heat Mats: Maintaining 20–24°C speeds germination, particularly for warmth-loving crops like peppers.
- Thermometer: Monitor temperatures closely; once seedlings appear, slightly cooler (18–20°C) encourages sturdier stems.
6. Watering Supplies
- Gentle Application: A spray bottle or fine-nozzle watering can prevents dislodging seeds or damaging stems.
- Bottom-Watering: Allows the medium to wick water upward; this reduces the risk of overwatering the surface.
7. Labels & Record-Keeping
- Identification Labels: Mark each container with the variety and sow date.
- Garden Journal: Track germination times, successes, and challenges to refine your process every season.
8. Air Circulation Equipment
- Small Fan: A gentle breeze strengthens stems and deters fungal growth.
- Ventilation: Ensuring fresh air exchange helps avoid stagnant, overly humid conditions that can harm seedlings.
Step-by-Step: From Sowing to the Garden
1. Prep Your Workspace
Clean and sanitize containers, tools, and surfaces. Gather seeds, peat-free mix, and watering equipment. Most plants start 6–8 weeks before the last frost date; certain slow-germinating herbs or onions may require 10–12 weeks.
2. Fill Containers with Your Chosen Mix
Moisten the coir- or compost-based medium until it’s evenly damp but not dripping. Fill each container just below the rim, tapping gently to settle without over-compressing the soil.
3. Sow Your Seeds
Plant at a depth of 2–3 times each seed’s diameter. For ultra-fine seeds (basil, lettuce), lightly sprinkle mix on top. Melons and cucumbers often do best in larger or biodegradable pots to avoid damaging delicate roots. Label each container right away.
4. Maintain Moisture & Encourage Germination
Keep soil evenly moist—but not waterlogged—to foster strong sprouting. Some gardeners use a clear dome to seal in humidity, but vent it once seedlings appear. Check moisture at least twice daily, especially if you use a heat mat underneath.
5. Adjust Environment for Healthier Growth
Maintain about 20–24°C until germination. After seedlings emerge, position LED lights 5–7 cm above the tops for 12–16 hours daily. A small fan keeps air circulating, helping prevent mildew and strengthening stems. If plants lean toward a window, move them closer to the lights or extend light hours.
6. Thin & Pot Up if Needed
Once seedlings form their first true leaves, remove weaker shoots, leaving only the strongest. If roots start circling the container—common in melons or squash—transplant them into a larger pot with slightly more compost or organic fertilizer.
7. Harden Off Your Seedlings
Ease seedlings into outdoor conditions over about two weeks. For warmth-loving crops like peppers or melons, keep them indoors at night if temperatures drop too low:
- Day 1: 30 min outdoors
- Day 2: 1 hr
- Day 3: 1.5 hrs
- Day 4: 2 hrs
- Day 5: 3 hrs
- Day 6: 4 hrs
- Day 7: 5 hrs
- Day 8: 6 hrs
- Day 9: 7 hrs
- Day 10: 8 hrs
- Day 11: 9 hrs
- Day 12: 10 hrs
- Day 13: 11 hrs
- Day 14: 12 hrs
- Day 15: 12 hrs + overnight
- Day 16: Transplant into the garden
8. Plant Them Out
Once frost risk has passed and soil temps approach 10°C (depending on the crop), transfer your seedlings to prepared beds. Dig holes slightly larger than the root ball, placing seedlings at the same depth—except tomatoes, which can be buried deeper. Water thoroughly and keep soil moderately moist for about a week as plants take root.
Growing and Improving Year-over-year
By following these steps—and tailoring them to your plant choices, indoor space, and local climate—you’ll set your seeds on a path to thriving. Embrace the process, learn from each season’s successes and challenges, and watch your garden come alive with a bounty of homegrown transplants.
0 comments